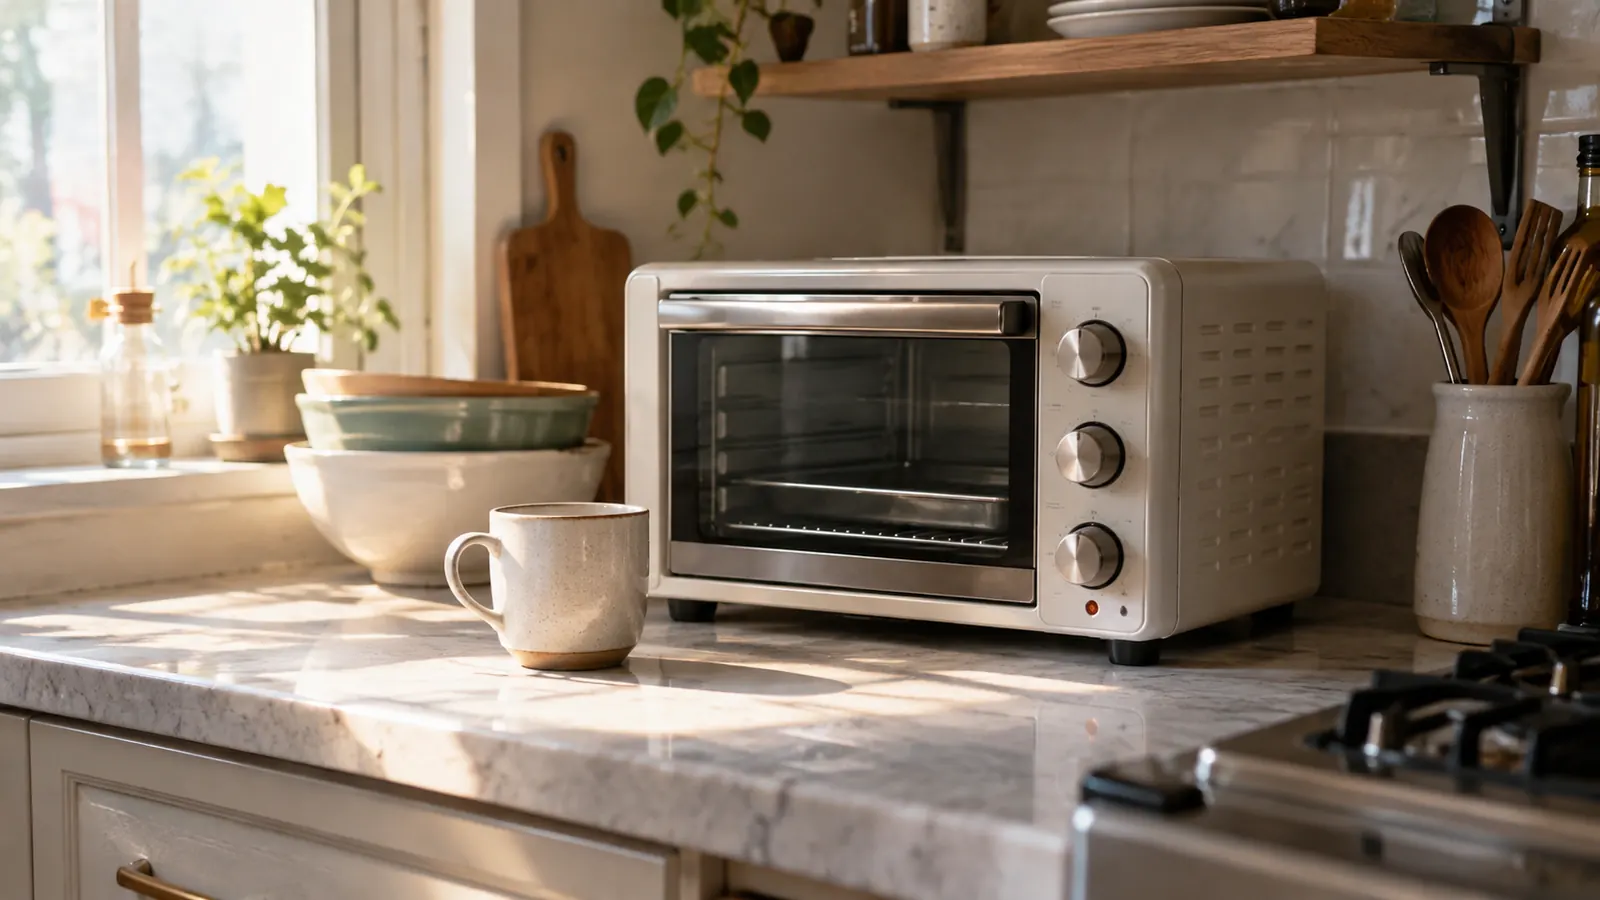
The summer I turned sixty-one, I cooked one meal in my full-size oven and spent the rest of the evening with every window open and the ceiling fan on high. The apartment stayed warm until midnight. That is when I started treating the toaster oven as the real oven and the real oven as a storage cabinet for the stockpot. I am Carol, and I cook in a one-bedroom apartment in Columbus in a galley kitchen with about four feet of usable counter. Three years ago I downsized from a family house and gave away most of my appliances. Everything left had to earn its spot, and the BLACK+DECKER toaster oven earned its spot in the first week.
If your situation sounds anything like mine, you already know the problem. The big oven heats up the whole place, takes forever to come to temperature, and feels absurd when you just want a couple of chicken thighs or a pan of brownies. A toaster oven does the same job in a fraction of the space and a fraction of the time, but only if you treat it like an oven, not a glorified toaster. This guide is the method I worked out over the last year of cooking dinner in mine five or six nights a week. It covers what fits, how to set the rack, how to adjust time and temperature, how to broil without setting off the smoke alarm, and how to keep the thing clean enough that it still earns its counter space.
Start Baking Real Meals Without the Big Oven
This is the model I have used five or six nights a week for the past year. It bakes, broils, toasts, and keeps warm, and the 15-inch size fits a standard 8x10 pan. Check today's price on Amazon to see if it fits your kitchen.
Amazon Check Today's Price on Amazon →Step 1: Learn What Your Toaster Oven Can Actually Do
The first mistake people make is expecting a toaster oven to act like a big oven with a smaller door. It is not. It is a small, fast, direct-heat machine, and once you understand that, everything else gets easier. The BLACK+DECKER TO1313SBD is the 15.47-inch model, which means the inside is big enough for a frozen pizza cut in half, an 8x10 baking pan, six muffins in a standard muffin tin, or a small casserole dish. It has a temperature dial from warm up to 450 degrees, a separate function dial for bake, broil, toast, and keep warm, and a timer that rings when it is done.
Here is what it cannot do. A whole turkey, a large sheet pan, a 9x13 casserole, a full dozen muffins in one round. I learned that the hard way my first month, when I tried to bake a dozen muffins and realized only six would fit. You adapt by cooking in smaller batches or in two rounds. For one person, that is rarely a problem. For my two grandkids on Sunday afternoons, six muffins at a time works fine, and the second batch is ready by the time the first is cool. If I am cooking for myself, I often make the full tray anyway and eat the second muffin with coffee the next morning. Nothing about the smaller size has ever felt like a sacrifice once I got used to cooking in batches.
The other thing to know is that the heating elements are close to the food. That is what makes it fast, and it is also why you cannot walk away. Everything cooks quicker than you expect, especially anything with sugar in it. I set the timer for the shortest time the recipe suggests and check from there.
Step 2: Set Up the Rack and the Right Pans
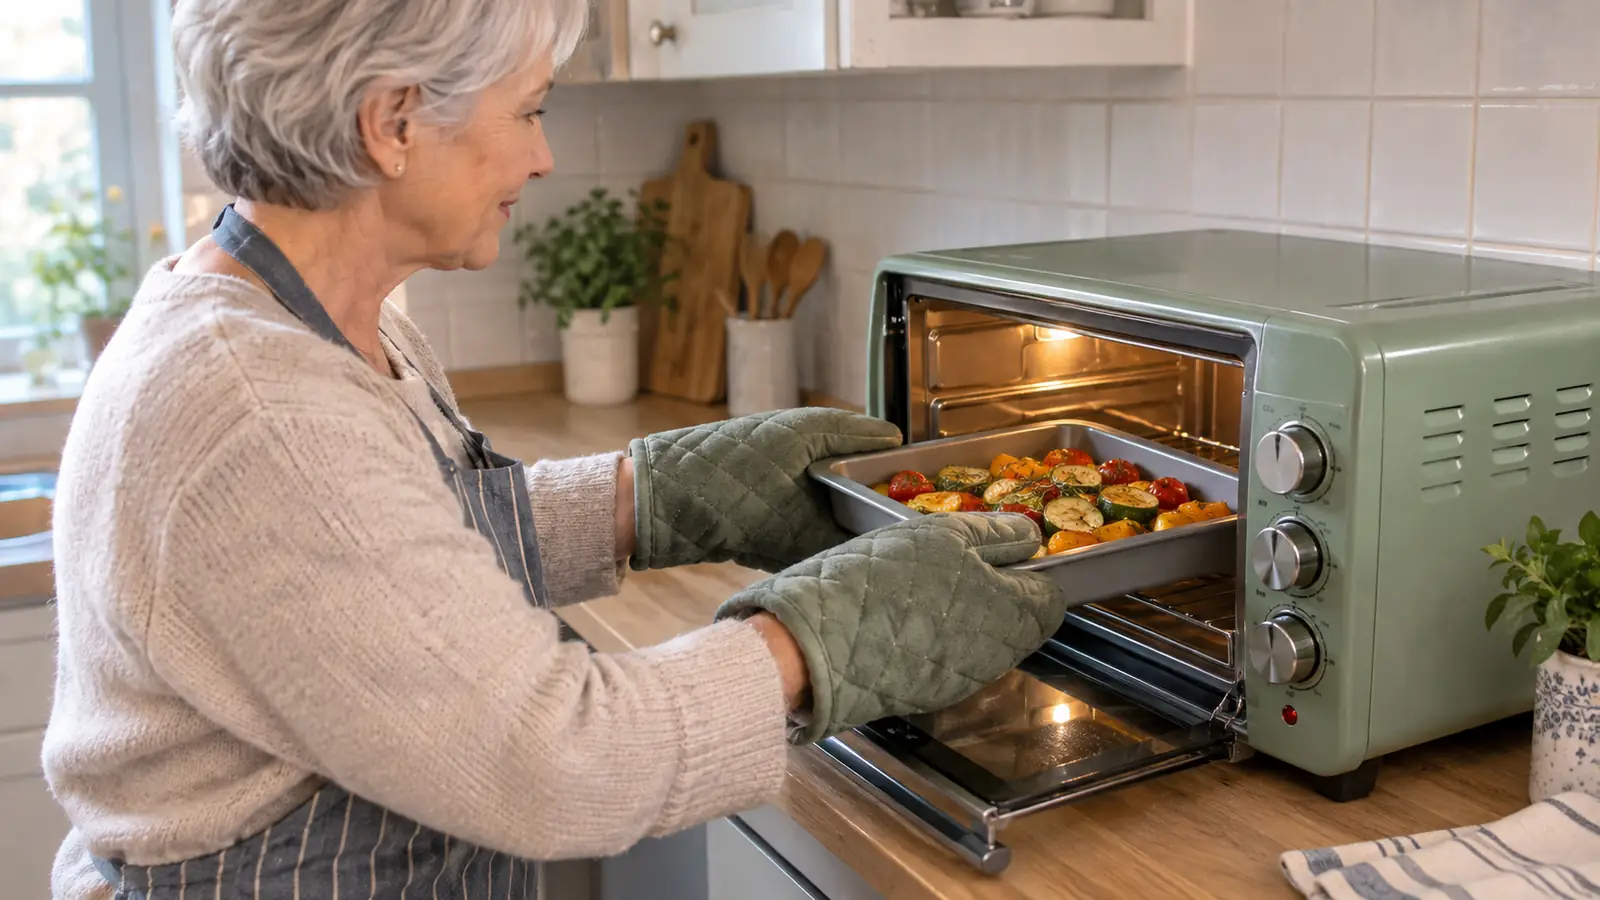
Rack position matters more in a toaster oven than it does in a full-size oven because you only have a few inches of vertical space. The BLACK+DECKER has two rack positions. Use the lower one for anything that needs gentle heat from below, like cookies, brownies, biscuits, or a small loaf. Use the upper one for broiling and for anything that needs browning on top, like a casserole with cheese.
Pan size is the other half of it. I keep a small 8x10 baking pan, a 6-cup muffin tin, a small loaf pan, and a rimmed baking sheet that fits the tray. The rimmed sheet is the most useful thing I own in that kitchen. It catches drips, it slides easily in and out, and I use it for everything from roasted vegetables to a single chicken breast. Do not use glass pans for broiling. Use metal or a pan that is marked broiler-safe.
Dark pans brown faster than light pans. I know this sounds like a small detail, but it is the difference between a cookie that is golden on top and raw in the middle, and one that cooks evenly. When I started, I used the same dark pan I had used in the big oven and had to shave five minutes off every recipe.
Step 3: Adjust Time and Temperature for the Smaller Cavity
The most important lesson I can pass along is that a toaster oven runs hot and fast. The cavity is small, so the heat is concentrated. For most baking, I set the oven 25 degrees lower than the recipe says, and I start checking at the shorter end of the time range. A batch of brownies that took thirty-five minutes in my old oven comes out right at about twenty-five minutes in the toaster oven. I have also learned that recipes written for a big oven assume a gentle, even heat. In a small cavity, the edges brown first, so I check the center with a toothpick and pull things out a minute early. It takes two or three tries to learn your particular oven, and after that you will not think about it.
An oven thermometer is worth the few dollars it costs. The dial on any toaster oven is not perfectly accurate, and knowing the real temperature inside makes the difference between a cake that rises and a cake that flattens. I put the thermometer on the rack next to the pan and let the oven preheat fully before I slide the food in. Preheat takes about five minutes, and I have learned not to rush it.
Because there is no big thermal mass, the temperature drops quickly when you open the door. Do not open the door to peek. I know it is tempting. Use the oven light, or just trust the timer and check at the earliest possible moment. Rotate the pan halfway through if you notice one side browning faster, since hot spots are a fact of life in a small electric oven.
Step 4: Broil Without Setting Off the Smoke Alarm
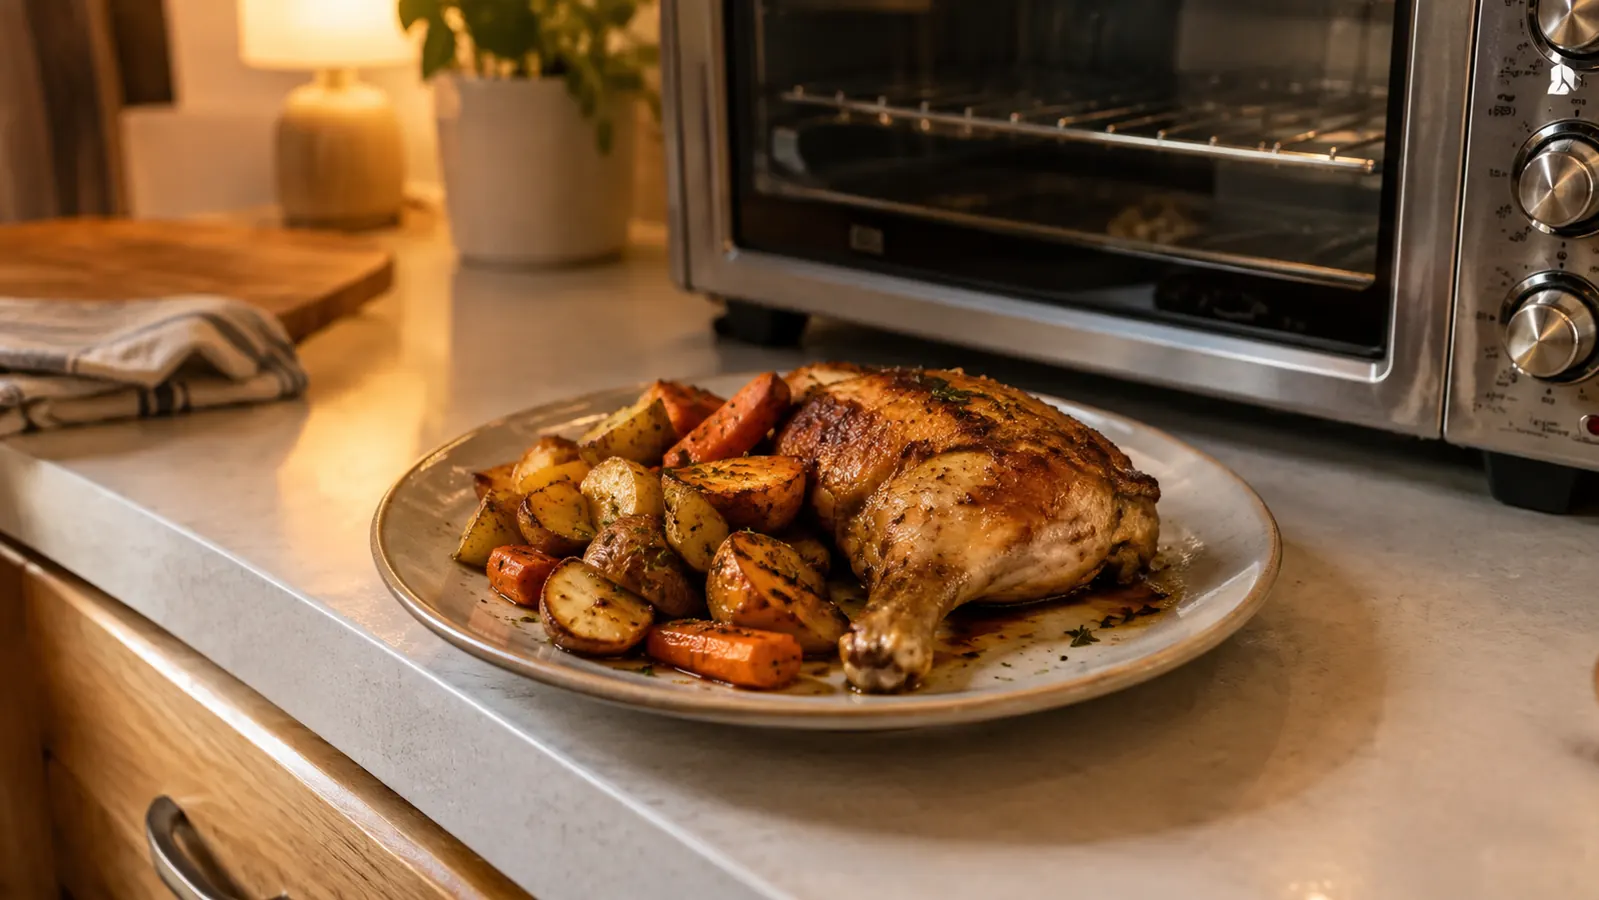
Broiling is where the toaster oven shines. The element is close to the food, so it browns faster than a big oven's broiler ever does. My routine for a quick dinner is a boneless chicken thigh seasoned and slid under the broiler on the upper rack for about six minutes a side, or a piece of fish for four minutes total. The results are better than anything I got from the big oven.
The trick is keeping the food low enough and the pan rimmed. I use the rimmed baking sheet every time because it catches the grease and stops it from dripping onto the heating element. Grease on the element is what makes a toaster oven smoke, and smoke in a one-bedroom apartment is not something you forget. I also crack the kitchen window before I broil anything fatty. On the worst days, when I am broiling something particularly greasy, I set the pan on the lower rack instead of the upper one and accept that the browning will take a minute or two longer. It is worth the extra minute to avoid a smoke-filled kitchen.
Watch it the whole time. There is no such thing as setting a broiler timer and walking to the living room. Things go from golden to black in about forty-five seconds. I pull the pan out with a good mitt, set it on the stovetop, and let it rest. If you are making cheese toast or melting cheese on a casserole, the upper rack position does the job in about two minutes. I make my grandkids' favorite cheese toast this way on Sunday afternoons: bread, butter, sharp cheddar, two minutes under the broiler, and it comes out with edges that are crisp and a center that is still soft.
Step 5: Clean As You Go and Keep It on the Counter
An appliance only earns its spot if it is easy to live with, and the cleaning routine is what decides that. The BLACK+DECKER has a slide-out crumb tray at the bottom, and I empty it once a week or after anything messy. The tray catches the crumbs so they do not bake onto the heating element, which is the main reason a toaster oven starts smelling like burnt toast.
I wipe the inside with a damp cloth while it is still warm, not hot, because baked-on grease is much harder to remove once it cools. I wash the baking pan and rack by hand, and they dry in the dish rack overnight. Once a month I take the tray and the rack out and give the inside a proper wipe-down with warm soapy water. That is the whole routine. It takes about ten minutes a week. The glass door gets the worst of it, especially after broiling cheese, and a quick wipe while it is warm keeps it clear enough to see inside without opening the door.
It stays on the counter because I use it at least once a day. In the summer it is the only oven I turn on. In the winter it preheats in five minutes for a quick casserole. If it were in the closet, it would not be helping anyone. The rule I brought from my old house applies here: if an appliance does not get used for a month, it goes. This one has never been in the closet.
What Else Helps
A few small things make the toaster oven easier to live with. An oven thermometer, as I said, because the dial is a suggestion, not a fact. A good pair of oven mitts that actually cover your forearms, because the top of the oven gets hot and you will bump it. A cooling rack that fits your baking pan, so cookies and muffins do not steam on the counter. And a roll of aluminum foil for the bottom tray on messy days. I also keep a small spatula and a pair of tongs in a drawer right next to the oven, because you will want to rotate pans quickly without hunting for tools. You can also buy a small silicone mat for the tray, but foil is cheaper and works just as well. None of this is expensive, and all of it makes the difference between an appliance you fight and an appliance you reach for.
One more thing about leftovers. Since the oven is small, the food is small, and for me that is the point. I cook two chicken thighs, not six. I bake four biscuits, not a dozen. My grandmother's recipes all assume a family of six, and I have learned to cut them in half and check early. Leftovers come out better in the toaster oven too, because it reheats a single slice of pizza without turning it to cardboard. That might be the most used setting in my kitchen.
Brownies that took thirty-five minutes in my old oven come out of the toaster oven in about twenty-five.
Cook Real Meals Without Heating Up the Whole Apartment
The BLACK+DECKER toaster oven has baked, broiled, roasted, and toasted for me five or six nights a week for the past year. If you are cooking in a small kitchen and tired of the big oven, this is the one I would buy again. Check today's price on Amazon.
Amazon Check Today's Price on Amazon →