

When I downsized from the family house to a one-bedroom apartment in Columbus three years ago, I gave away most of my appliances. The big six-cup rice cooker went with the rest. It made beautiful rice for a crowd, but it took up more counter space than my whole galley kitchen has now. The rice cooker was the hardest appliance to give up. I had used one every week for twenty years, and I did not want to go back to boiling rice in a saucepan on the stove, watching it foam and hoping it would not burn. These days I have about four feet of usable counter, one outlet strip, and a small two-door pantry cabinet. Every appliance has to earn its spot or it goes in the closet. The AROMA 3-Cup Rice Cooker, model ARC-363NG, earns its spot.
It is small enough to live on the counter next to the toaster, and it does two things I actually need every week: rice for Sunday dinner with my two grandkids and oatmeal for weekday mornings. I have used it almost every day for three years, and I have worked out the exact method that comes out right every time. The little instruction booklet covers the basics, but it does not tell you what to do when the rice looks dry at twenty minutes, how long to leave steel-cut oats on warm, or why your first batch turned out gummy. This is the method I settled on, written down the way I would tell you at my kitchen table. And it is the answer I give anyone who asks what to buy first for a small kitchen.
The Little Cooker That Does Rice, Oats, and Soup
The AROMA 3-Cup Rice Cooker has stayed on my counter for three straight years. It cooks rice, oatmeal, and soup in a pot small enough to wash in the sink, and it earns every inch of space it takes.
Amazon Check Today's Price on Amazon →Step 1: Measure the rice with the cup that came with it
Use the little plastic cup that comes in the box, not your regular measuring cup. One level scoop of that cup is about one serving of cooked rice for a grown adult, and the pot holds three scoops of uncooked rice, which comes out to about six cups cooked. For Sunday dinner with my two grandkids, I make one and a half scoops. That gives each of us a good serving with a little left over for me to pack for Monday lunch. If I am cooking just for myself, one scoop is plenty, and I get two meals out of it.
Put the rice in the inner pot and fill it with cold water from the tap. Swish the rice around with your fingers, pour off the cloudy water, and repeat two or three times until the water runs mostly clear. This rinse matters more than any other step. Surface starch is what turns rice gummy, and rinsing washes most of it away. I skipped the rinse the first week and wondered why my rice stuck together in clumps. The rice itself was fine. The starch on the outside was the problem, and a thirty-second rinse fixed it.
One caution: do not rinse the rice and then walk away. If it sits in water too long, the grains soften and cook unevenly. I rinse, drain, add the measured cooking water, and put the pot in the cooker right away. From scoop to start takes about two minutes, and I do it before I start anything else so the cooker can work while I chop vegetables or set the table.
Step 2: Use the water lines inside the pot, not your memory
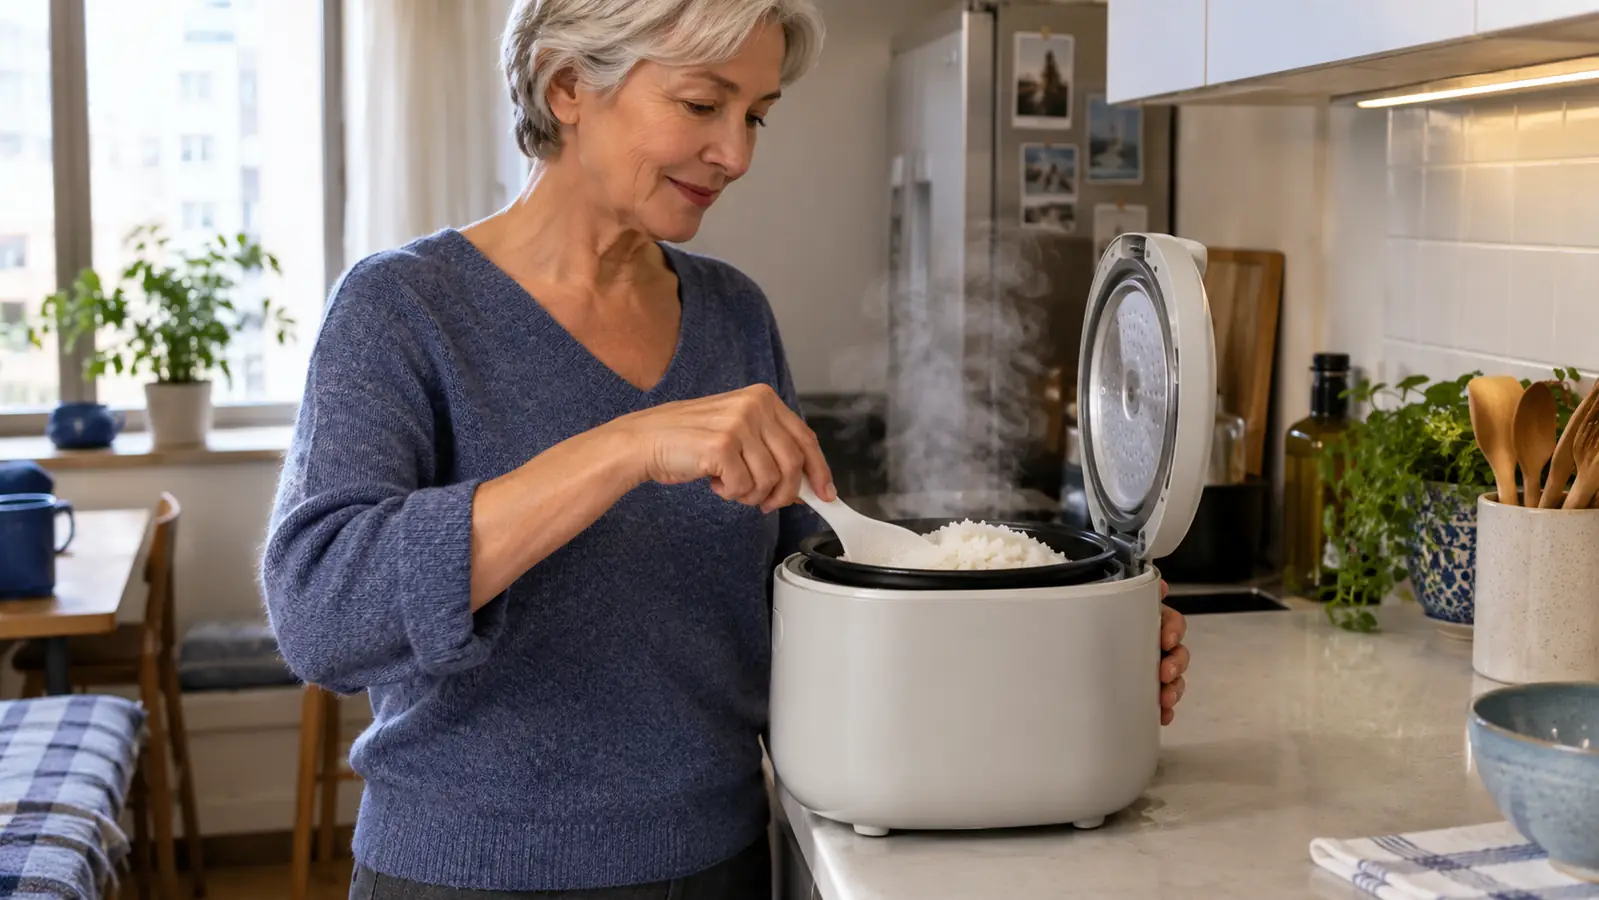
The ARC-363NG has water lines marked on the inside of the inner pot, and they are there for a reason. For white rice, fill the water to the line that matches the number of scoops you put in. One scoop of rice, water to the 1 line. One and a half scoops, water to the line between 1 and 2. The lines are printed on the side of the pot, so you can see them without measuring anything. That is the whole point of this cooker for me: no separate measuring cup for water, no math. It took me a few tries to trust this, because the water level looks low compared to the stovetop method my mother taught me, where you put your fingertip on the rice and fill water to the first knuckle.
The line method works better in a small pot. The one adjustment I make: if the rice has been sitting in my pantry for more than a few months, I add two extra tablespoons of water. Older rice is drier and needs a little more to soften. I learned this the morning I opened a bag I had forgotten about and ended up with rice that was cooked but slightly hard in the center. Two tablespoons fixed it the next time, and now I check the date on the bag before I scoop.
Do not lift the lid while it cooks. I know it is tempting, especially the first time. Every time you open the lid, steam escapes and the cooker has to catch back up, which makes the cooking time longer and the texture less even. Trust the switch. The cooker runs until the water is absorbed, then clicks over to warm on its own. That click is your signal that the cooking part is done, and the next step starts.
Step 3: Let the keep-warm cycle do the last ten minutes of the work
This is the step that changed my rice from good to great, and it is the one the booklet barely mentions. When the cooker clicks from cook to warm, the rice is not actually finished. It needs ten to fifteen minutes on the warm setting to steam itself dry and firm up. The first time I used the cooker, I flipped the lid open the second it clicked and served gummy rice. The second time, I left it alone for twelve minutes and got perfect, separate grains. Same rice, same water, same cooker. The only difference was patience.
The keep-warm function also means I can cook rice an hour before the grandkids arrive and not think about it again. I have left rice on warm for four hours once, when a Sunday visit ran long and dinner got delayed, and it was still soft and steamy, not dried out or crusty around the edges. That is the feature I did not expect to use this much. In the old house I cooked rice at the last minute and stressed about timing the rest of the meal around it. Now I cook the rice first and everything else catches up to it.
One thing to know: if you leave rice on warm for many hours, the bottom layer can turn slightly golden and crisp. Some people like that, and I have scraped it up and eaten it happily. If you do not want it, just serve the rice within a couple of hours, or turn the cooker off and reheat portions later. The pot is small, so there is rarely much rice left to worry about anyway.
Step 4: Fluff it gently, then season it
Use the paddle that comes with the cooker, or a wooden spoon if you have lost it, and fold the rice gently from the edges toward the center. Do not stir it hard. Stirring breaks the grains and turns fluffy rice into paste. The motion is more like turning a salad than mixing batter, and it takes about thirty seconds to loosen the whole pot.
Season after cooking, not before. A little butter and a pinch of salt stirred through the hot rice tastes the way rice should taste, and the butter melts into the steam. For the grandkids, I add a sprinkle of furikake on their plates, and for me, a splash of soy sauce in the bowl. On nights when I want a one-pot dinner, I fold in some leftover roasted vegetables and an egg, and it becomes a meal.
Leftover rice keeps in the fridge for three or four days in a covered container. I reheat single servings in the microwave with a damp paper towel draped over the bowl, which puts the steam back in and keeps the grains from drying out. I have also used cold rice for fried rice the next day, and it fries up better than fresh rice because the grains are firmer and separate more easily in the pan.
Step 5: Oatmeal without standing over the stove
The same cooker makes oatmeal, and this is where it earns its keep in my kitchen. For rolled oats, I use one scoop of oats to two scoops of water and a pinch of salt. Stir once at the start, close the lid, and walk away. The cooker switches to warm when the oats are done, and I have never had a pot boil over or scorch. In the old house, oatmeal meant standing at the stove for ten minutes stirring so it would not stick to the bottom. Now I start the cooker and go fold laundry or make coffee while it works.
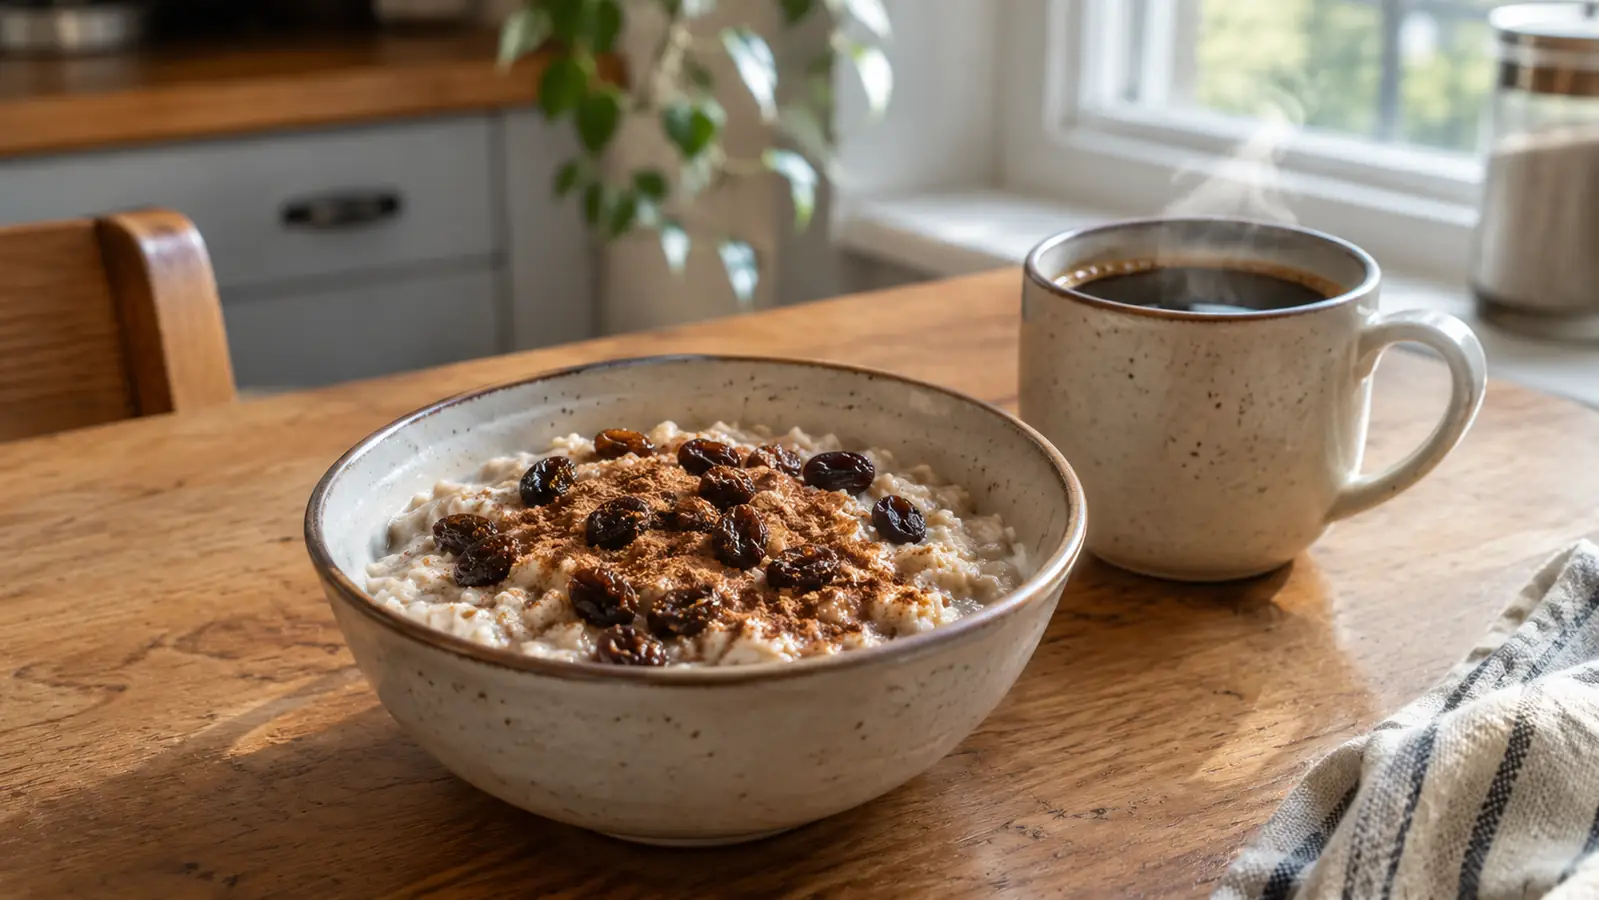
Steel-cut oats take longer but come out even better. I use one scoop of steel-cut oats to three scoops of water. They take about forty minutes in this cooker, and the warm cycle finishes them off. I add raisins and a sprinkle of cinnamon after it switches to warm, then let it sit for five minutes before serving. Sunday mornings with the grandkids are calmer because of this little pot. I can put the oats on, set the table, and pour the juice while it works.
The same pot makes soup, too. I use the soup setting with a can of diced tomatoes, a can of beans, and whatever vegetables I have, and it simmers gently without me standing over it. For someone who cooked for hundreds of people in a school cafeteria for thirty years, cooking for one with no fuss is the whole appeal. And one cleaning note specific to oatmeal: it sticks if you let it dry. I fill the inner pot with warm water and a drop of dish soap the moment I serve, and by the time we finish eating, it rinses clean with a soft sponge. The nonstick surface means I never scrub, and the pot is small enough to wash in the sink, which is more than I can say for the cookers I used to own.
What Else Helps
Three small things make the difference between using this cooker weekly and stuffing it in a cabinet. First, keep the little measuring cup even if you lose everything else. It is the correct size for the water lines, and any other cup will throw off the ratio. Second, use a silicone or plastic paddle to protect the nonstick coating; a metal spoon will scratch it eventually, and once the coating is scratched, cleaning gets harder. Third, wipe the vent on the lid now and then. Oatmeal can spit a little foam, and dried foam blocks the vent and slows cooking. I check mine every few weeks with a damp cloth.
Also, if you cook for one, this 3-cup size is the right size. A bigger cooker with a tiny batch of rice in it does not cook as evenly, because the heating element is sized for a larger pot. In the 3-cup pot, one scoop of rice sits right over the heat and cooks perfectly. That is the real reason I chose this size over the larger AROMA models. The pot matches the portion, and the whole thing fits on four feet of counter without crowding the toaster.
The first time I made steel-cut oats in this little cooker, I walked away and folded a load of laundry while it cooked. Nothing burned, nothing boiled over, and the oats came out creamy. That alone earned it the spot on my counter.
Perfect Rice on the First Try, Every Time
The AROMA 3-Cup Rice Cooker has made rice and oatmeal for me almost every day for three years, and it still looks and cooks like the day I bought it. If you cook for one or two in a small kitchen, this is the one that earns its counter space.
Amazon Check Today's Price on Amazon →